The Minutes Administration page allows Super Users to edit user permission, voting members display, non-voting members display and attendance, and setting the default vote view display for minutes.

- On the Meetings tab, go to Meeting Administrator and click on Meeting Types
- Click on the Minutes icon
- Minutes Administrator page will display
Below will list each screen displayed on the Minutes Administrator page, their capabilities, and how navigate them
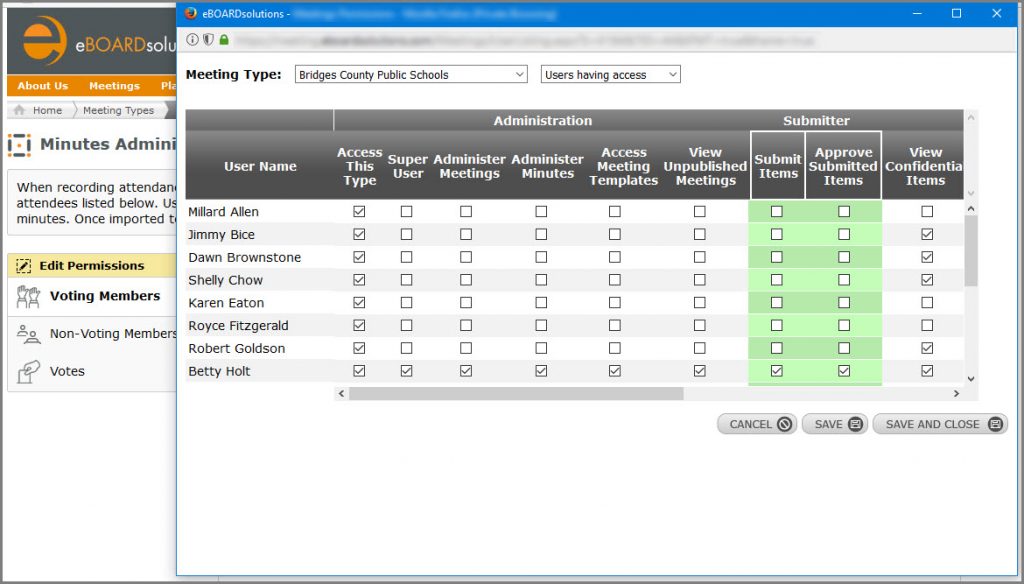
Edit Permissions
The Edit permissions link allows the super user to edit the users who have access to the meeting type selected. Changes made on the permissions page will automatically be made to the meeting type. Key features are listed below:
- The Permissions page will open in a new window
- Once changes are made, the Meeting Administration page will refresh reflecting any changes made
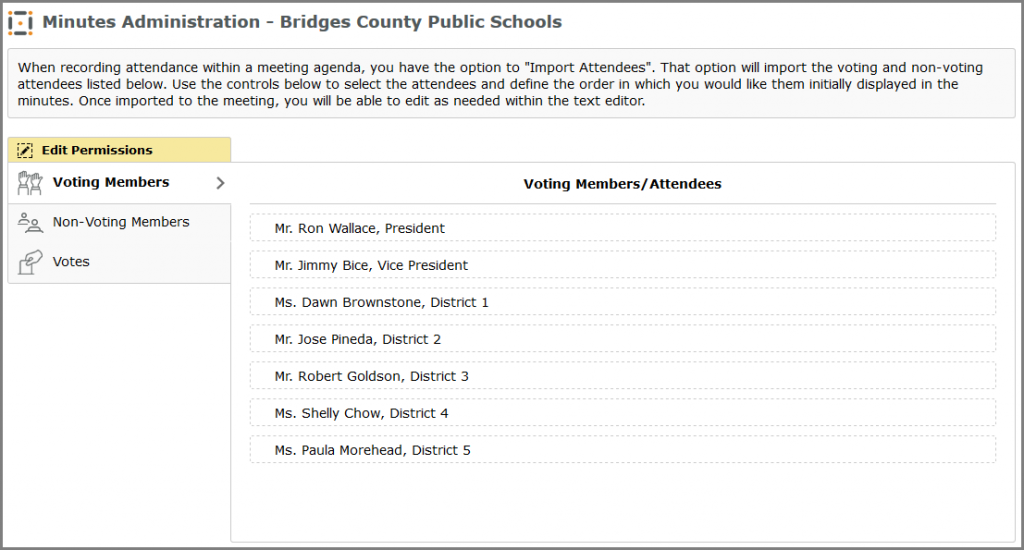
Voting Members Tab
The voting members tabs lists users who have the ability to vote along with their titles, if entered in their user profile, for the selected meeting type. By default, the voting members are listed in alphabetically order by last name. However, members can be rearranged by clicking on their name and dragging and dropping them to the new desired position.
How to Edit Voting Member Positions
- Hover over member’s name to display the drag-and-drop icon
- Left click on member’s name then drag and drop them to their new display position
- Multiple users can be selected by holding down the Ctrl key and selecting users
NOTE: Position changes are automatically saved. There is no save button for this screen.
Members given voting ability on a meeting type are automatically made attendees.
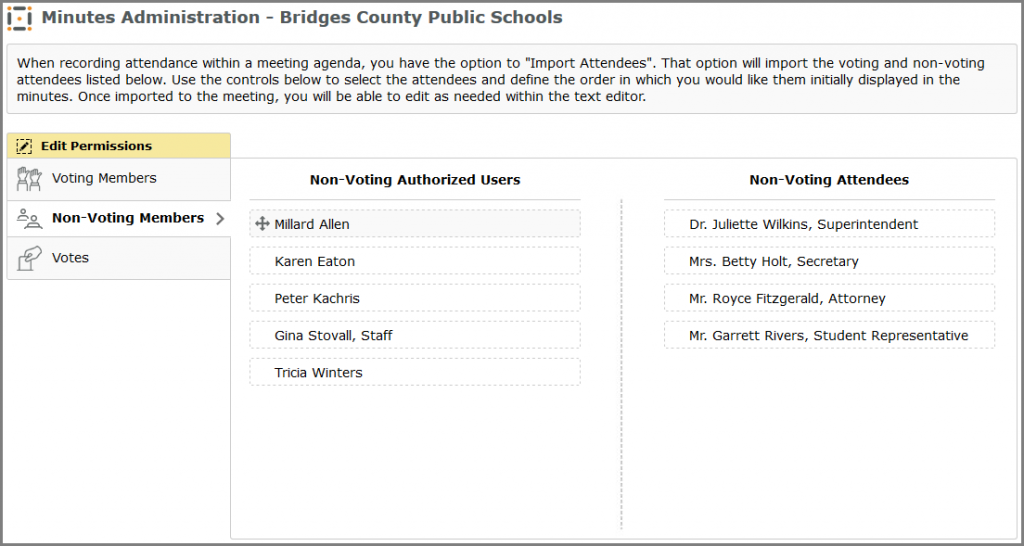
Non-Voting Members
The Non-voting members tabs lists authorized users and non-voting attendees along with titles, if entered in their user profile, for the selected meeting type. By default, all Non-Voting Authorized Users are listed in alphabetically order by last name and cannot be edited. However, Non-Voting Attendees can be rearranged by clicking on their name and dragging and dropping them to the new desired position. Users can be moved from being authorized users to attendees or from attendees to authorized users.
How to Edit Non-Voting Member Positions
- Hover over user name to display the drag-and-drop icon
- Left click on user’s name then drag and drop them to their new display position
NOTE: Multiple users can be selected by holding down the Ctrl key and selecting users. Position changes are automatically saved. There is no save button for this screen. Users moved from the non-voting authorized users list to the non-voting attendees list and automatically made attendees for the selected meeting type.
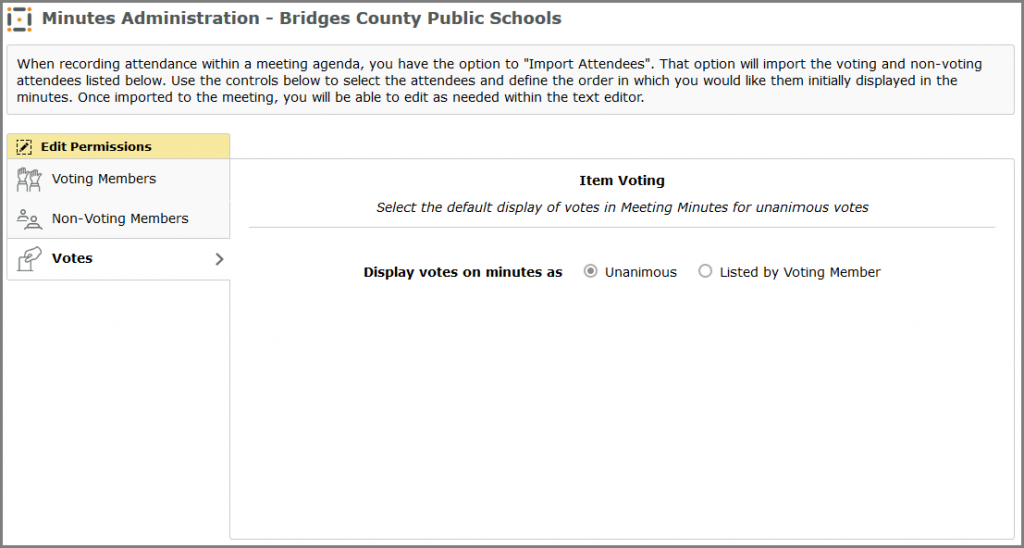
Votes
The Votes tab is where the default view is chosen on how to display votes on minutes. There are two options: Unanimous or Listed by Voting Member. Although a default option can be selected here, the voting display can be chosen on an individual basis for each agenda item.
The difference between unanimous and listed view:
| Unanimous | Listed by Voting Member |
|---|---|
| Voting: Unanimously Approved | Voting: Mr. Ron Wallace – Yes Mr. Jimmy Bice – Yes Ms. Dawn Brownstone – Yes Mr. Robert Goldson – Yes Ms. Paula Morehead – Yes Ms. Shelly Chow – Yes |